

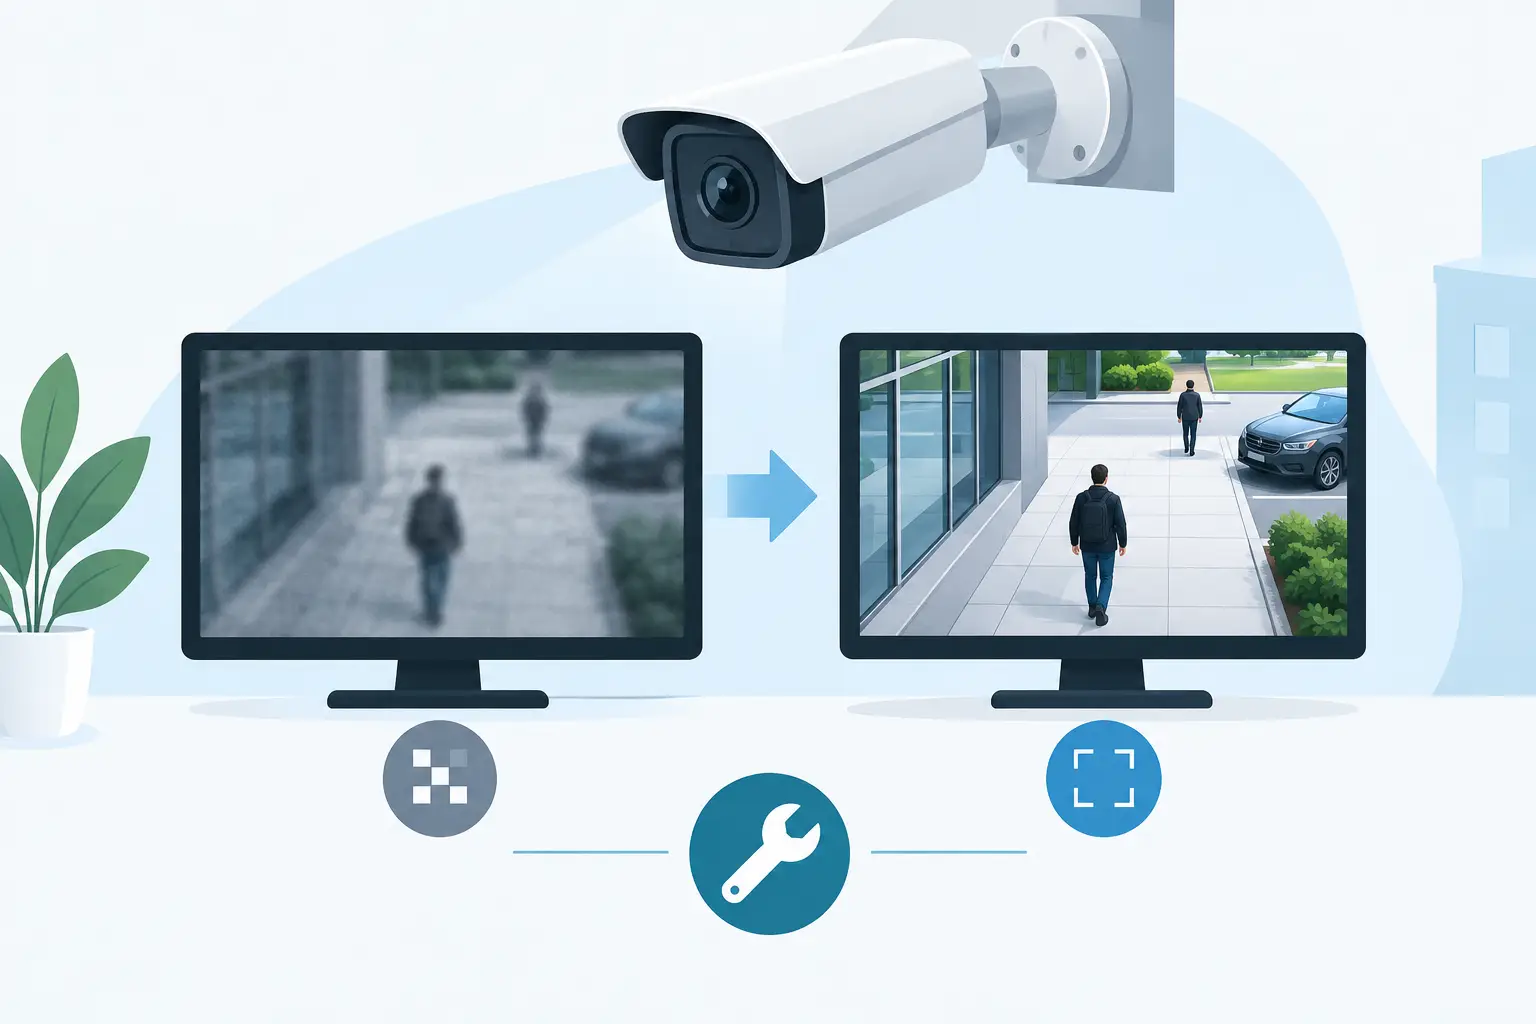
A face fills only a few pixels of the frame. Headlights wash out the entrance. The subject moves from shadow into bright daylight in two seconds. Those are not minor camera annoyances – they are CCTV image quality issues that can determine whether an incident is verified, documented, and escalated appropriately or left unresolved.
For security teams, investigators, and property operators, the goal is not to make every frame look cinematic. The goal is to preserve enough reliable visual detail to support a defensible next step. That means diagnosing what failed, recovering the strongest available frame, and keeping a human in the loop before drawing conclusions from a possible match or visual similarity.
Start With the Question the Footage Must Answer
Image quality is not an abstract score. A parking-lot camera may be adequate for confirming a vehicle’s direction of travel but inadequate for identifying a person at the property line. A lobby camera may capture clothing and behavior clearly while failing to preserve facial detail because the subject is backlit by glass doors.
Before changing settings or exporting clips, define the operational question. Are you trying to establish a timeline, distinguish between two individuals, document a trespass warning, identify a vehicle, or obtain a usable face frame for permitted verification work? Each task needs different details, and that distinction prevents teams from treating every imperfect image as a total failure.
For face-based review, prioritize visible eye area, nose and mouth structure, frontal or near-frontal angle, and enough pixel density across the face. For incident documentation, a wider frame may matter more because it shows location, actions, companions, access points, and sequence of events. Preserve both when possible: the contextual original and the best close frame.
The CCTV Image Quality Issues That Cause Most Failures
Motion blur removes detail before review begins
Motion blur is common at entrances, corridors, elevators, and drive lanes. It occurs when a moving subject crosses the scene faster than the camera’s shutter can freeze them. Increasing resolution does not fix blur already baked into the image. A higher-resolution blurred face is still blurred.
If your camera supports manual exposure controls, evaluate whether the shutter speed is too slow for the activity zone. Faster shutter speeds can retain detail on a walking or running person, but they require more light and can introduce noise in darker scenes. This is a trade-off, not a universal setting. Review the scene at the time incidents actually occur, especially after dark.
Low light creates noise, smearing, and false confidence
Low-light footage often looks passable when played at normal speed but breaks down when paused or enlarged. Cameras compensate by boosting gain, using long exposure, applying aggressive noise reduction, or shifting into infrared mode. Those processes can erase texture around the eyes, merge facial edges, and create blocky artifacts that resemble features that are not truly present.
Do not assume infrared will solve every nighttime problem. Infrared can improve visibility, but reflective surfaces, eyeglasses, wet pavement, and nearby walls may create hotspots or distort contrast. Check the camera’s field of view at night rather than relying on daytime installation tests.
Backlight and glare hide faces at the point of entry
A person standing between the camera and a bright window, doorway, vehicle headlight, or exterior fixture may appear as a silhouette. Wide dynamic range can help, but poor camera placement cannot always be corrected through software.
At entrances, position cameras to capture faces before subjects reach the brightest background. Consider lighting that illuminates the approach rather than blasting light directly into the lens. Also inspect for practical causes: dirty domes, condensation, scratched covers, spider webs, and misaligned housings can turn ordinary lighting into flare that masks an entire scene.
Compression and export settings can destroy usable evidence
Many teams lose detail after the camera captured it. A low-bitrate stream, heavily compressed recorder setting, messaging-app upload, or repeated screenshot can create artifacts that make careful review harder. Export the native clip or the highest-quality available file first. Keep an untouched original and document where it came from, when it was exported, and who handled it.
A screenshot may be useful for fast internal triage, but it should not replace source footage. If you extract a still frame, use the recorder’s export tools when available instead of photographing a monitor. Screen captures can introduce moire patterns, scaling artifacts, glare, and additional compression.
Poor framing is often the most expensive issue to fix late
A camera aimed too wide may cover a large area but leave every face too small to evaluate. A camera placed too high may provide an excellent view of hats and hairlines rather than usable facial angles. Digital zoom cannot recover information that the lens never captured.
Review framing against the actual pathways people use. A camera covering an entire lobby can serve situational awareness, while a second camera at face height near the controlled entry point may serve verification. The right answer depends on the site, risk profile, privacy obligations, and legitimate purpose for collection.
A Practical Triage Workflow for Weak Footage
When an incident arrives, avoid immediately enlarging the noisiest frame and trying to force a conclusion. First, preserve the original footage and record the camera ID, timestamp, location, export method, and known time-zone settings. A one-hour clock error can undermine an otherwise useful incident timeline.
Next, review several seconds before and after the apparent best moment. The strongest face frame is frequently not the one where the subject looks directly toward the camera. Look for a slower step, a turn toward a door, or a moment when light falls evenly across the face. Compare adjacent frames, because a single clean frame can be more useful than a longer blurry clip.
Then separate enhancement from reconstruction. Adjusting brightness, contrast, crop, orientation, or deinterlacing can make existing information easier to see. It cannot reliably create missing facial details. Treat aggressive AI sharpening, generated detail, and face restoration with caution. These tools may be useful for visual orientation, but they can alter evidence and should never be represented as original camera output.
Maintain a clear file path: original footage, working copy, exported still, and any enhanced derivative should be labeled separately. This keeps review auditable and lets another professional understand what they are seeing without guesswork.
Improve Capture Conditions Instead of Chasing Better Software
A recurring pattern of bad footage usually points to a site condition, not a reviewer problem. Conduct camera checks under real operating conditions: morning glare, afternoon shadows, evening traffic, rain, and overnight infrared. Test with a person walking the same route and pace as a typical visitor, not standing still directly under the camera.
Assess resolution alongside distance, lens choice, frame rate, bitrate, shutter behavior, and lighting. More megapixels can help, but only if the network, recorder, and storage policy retain that detail. A camera configured to reduce bitrate during busy periods may fail precisely when activity increases.
Establish a maintenance routine for lenses and housings. A small amount of grime, a shifted camera after weather, or firmware settings reset during an update can have a meaningful operational effect. Keep a record of adjustments and validate the result with sample footage rather than assuming a configuration change worked.
Turn Usable Frames Into Defensible Next Steps
Once you have selected the strongest frame, keep the review purpose narrow. A possible visual similarity is a lead for verification, not an identity determination by itself. Confirm context through timestamp, location, incident facts, additional imagery, and authorized source material. Escalate based on the totality of reliable information, not an automated signal alone.
For professional workflows, SafetyCamAI can help teams submit a usable CCTV frame for confidence-scored match signals, source review, and evidence packaging. That does not remove the need for judgment. Human review, lawful purpose, documented handling, and appropriate escalation remain the controls that make a fast workflow responsible.
Avoid using image-based results for employment, housing, credit, insurance, or other consumer-reporting decisions. Keep use within your organization’s authority, policies, and applicable law. When the facts support law-enforcement involvement or an immediate safety response, preserve the original evidence and follow your established escalation protocol.
The next incident will not wait for perfect footage. Build a process that identifies the best available detail, records its limits honestly, and gives reviewers enough context to act carefully when the signal matters.