

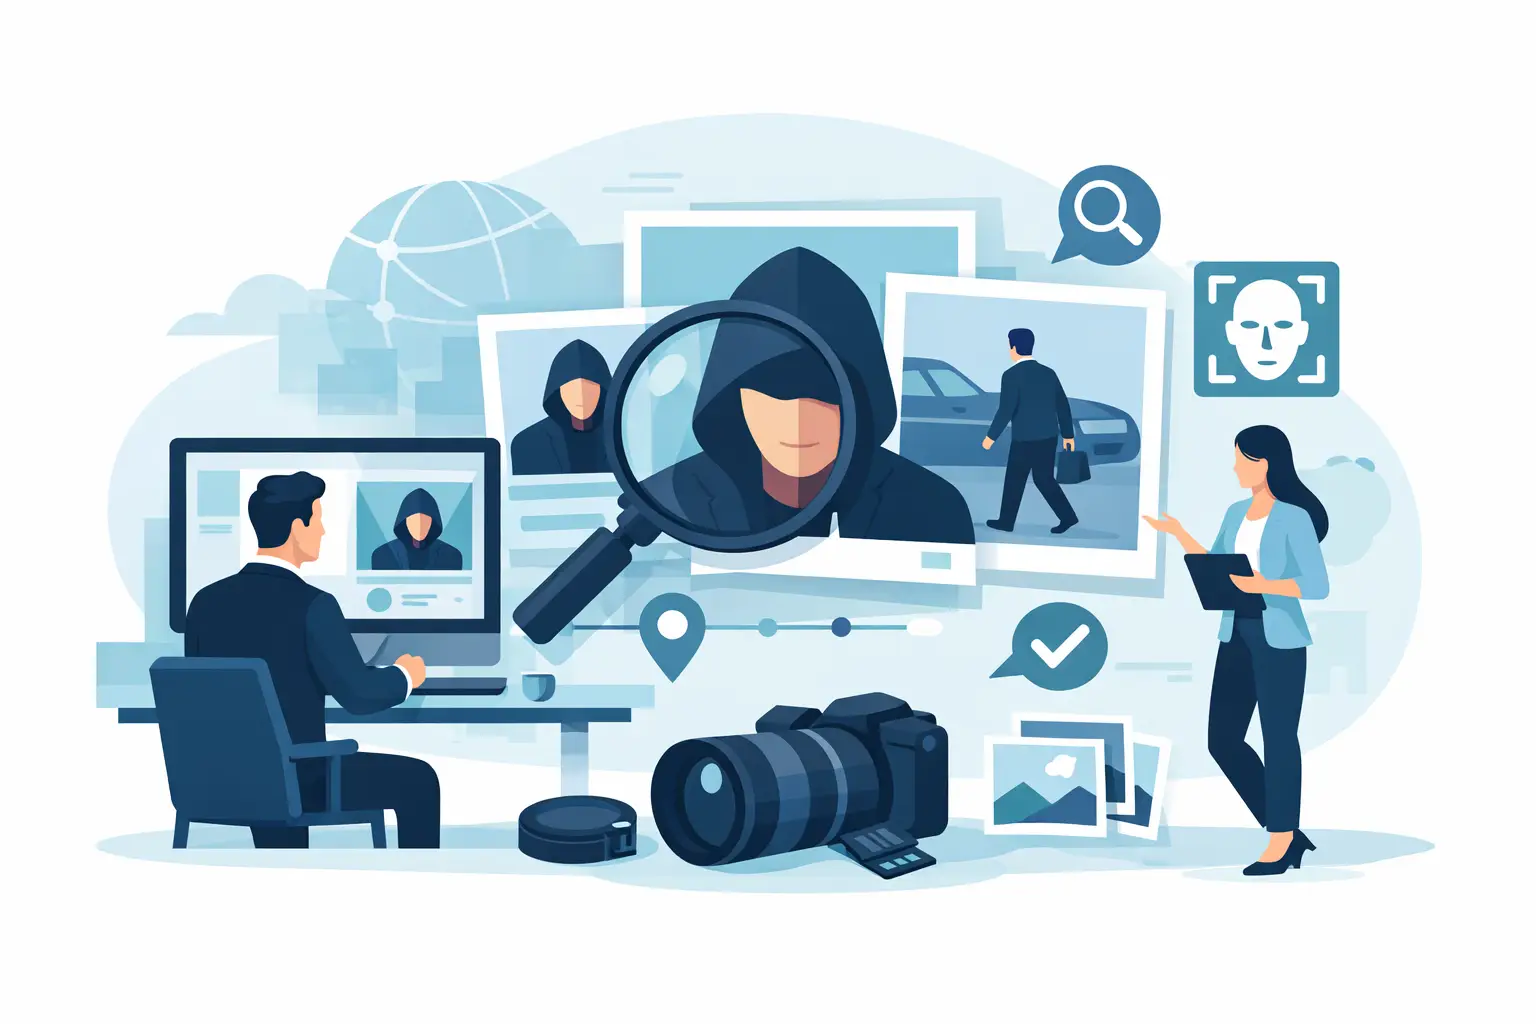
A blurry face cropped from a hallway camera can trigger a tenant complaint, an internal incident review, or a decision to escalate to law enforcement. The problem is not finding a name fast. The problem is learning how to verify surveillance photos in a way that is defensible, documented, and appropriate for professional use.
That distinction matters. A surveillance image is usually incomplete evidence. Lighting is uneven, camera angles distort facial features, timestamps can drift, and a single frame can strip away the context that explains what actually happened. If your workflow treats every possible match as an answer, you create risk. If your workflow treats every image as a verification exercise, you create a cleaner path to action.
How to verify surveillance photos without overreaching
The strongest verification workflows start with restraint. A photo from CCTV is not proof of identity by itself, and it should not be used as the sole basis for a high-stakes decision. For security teams, investigators, and property operators, the goal is narrower and more practical: determine whether the image supports escalation, whether additional corroboration exists, and whether the record will stand up to internal review later.
That means separating detection from verification. Detection is noticing that a person of interest appears in a frame. Verification is the slower step where you test whether the image, the source, and the context align. Human review stays in the loop because surveillance imagery regularly produces ambiguity. Hats, hoodies, compression artifacts, off-angle poses, and low-resolution exports all increase the chance of false confidence.
A disciplined process usually begins before any search happens. First, confirm the original image is the best available version. Investigators lose a lot of signal by working from screenshots of exported clips, phone photos of monitors, or compressed messages sent over text. Pull the native frame or the least-compressed export you can obtain. Preserve the original file and note where it came from, who handled it, and when it was pulled.
Next, review whether the face is actually suitable for comparison. You need enough visible structure to compare stable traits, not just general appearance. The best candidate frames show a frontal or near-frontal view, open eyes, visible brow line, nose shape, cheek structure, and a usable jaw outline. If all you have is a profile in poor light, your confidence ceiling is lower from the start, and your notes should reflect that.
Start with image quality and scene context
Good verification depends on two parallel checks: image quality and incident context. Teams often focus on the face alone and skip the scene, which is where many avoidable mistakes begin.
On the image side, look for motion blur, digital noise, overexposure, backlighting, and lens distortion. A wide-angle entrance camera can stretch facial proportions near the edge of the frame. Night footage can create harsh contrast that changes perceived skin tone, eye depth, and facial width. If the image has been enlarged, sharpened, or filtered, document that too. Enhancement can help visibility, but it can also introduce artifacts. The working rule is simple: enhancement may aid review, but the original should remain the reference.
On the context side, confirm time, location, camera position, and event sequence. Does the timestamp line up with access logs, witness notes, delivery records, or dispatch calls? Was the person captured entering, exiting, or passing through? Are there multiple cameras that show the same subject from different angles within a tight time window? Context often does more to raise or lower confidence than any visual match score.
This is where operators make a meaningful shift from guesswork to verification. You are not asking, “Who does this person remind me of?” You are asking, “What can I support with image evidence plus surrounding facts?”
Use face matching as a signal, not a verdict
Reverse image face search and AI-assisted matching can shorten triage dramatically, especially when the photo is reasonably clear. But in a compliance-conscious workflow, matching is a lead-generation step. It is not a final identification and it is not consumer reporting.
A useful matching system should return confidence-scored signals, preserve source visibility, and allow human reviewers to compare candidate images against the surveillance frame. That source-level review is essential. If a result cannot be traced back to a visible source, it is harder to validate, harder to explain, and harder to defend later.
When reviewing a candidate, compare stable features first. Focus on ear shape, eyebrow pattern, relative eye spacing, nose bridge, nostril width, chin contour, and hairline if visible. Be cautious with changeable traits such as hairstyle, facial hair, glasses, cosmetics, and weight fluctuation. Clothing can help in event-level confirmation, but it should not carry identity review by itself unless paired with stronger indicators.
It also helps to compare against multiple images of the same candidate, not a single flattering or poor-quality source photo. If one source image looks close but several others do not, your confidence should drop. Consistency matters more than a single apparent hit.
In practice, this means treating AI output as one layer in a stack. A strong workflow combines the candidate match, the underlying source images, the original surveillance frame, the scene context, and any independent corroboration. SafetyCamAI is built around that verification-first lane: image-only review, human in the loop, and evidence packaging that supports internal triage instead of replacing judgment.
Build corroboration before you escalate
The question is rarely whether you found a possible match. The question is whether the total record supports escalation. That standard is higher, and it should be.
Corroboration can come from timing, geography, repeat appearances, associated social content, vehicle observations, property access data, prior incident records, or witness statements. A candidate who appears visually similar and also shows up in public content tied to the same neighborhood, timeframe, or associates may warrant closer review. A candidate who only looks similar, with no supporting context, usually does not.
This is the point where professional discipline protects both safety and fairness. Over-escalation creates noise, wastes team time, and can expose your organization to unnecessary legal and reputational risk. Under-escalation can leave a real threat unaddressed. The answer is not speed alone. It is documented, proportional review.
Red flags that lower confidence
Some signals should slow you down immediately. One is a match driven mostly by superficial similarity – same age range, same hairstyle, same hoodie – without stable facial alignment. Another is source mismatch, where the candidate image appears much older or much newer than the surveillance frame. A third is context drift, where the candidate has no credible tie to the incident location or timeframe.
There is also the issue of camera bias. Certain cameras consistently produce poor skin-tone rendering, odd facial width, or glare across eyeglasses. If you know a device has these weaknesses, note them. That kind of operational memory improves future reviews and keeps teams from repeating avoidable mistakes.
Document the verification workflow
If you need your findings to survive a supervisor review, a client handoff, or a later legal request, the file needs more than a screenshot and a guess. Document what image was reviewed, where it came from, whether it was enhanced, what comparison criteria were used, what candidate sources were considered, and why confidence was raised or lowered.
A concise verification record often includes the original frame, any secondary camera angles, candidate comparison images, source references, timestamps, reviewer notes, and a statement of disposition. That disposition should be plain and proportional. For example: possible match requiring additional corroboration, insufficient basis for identification, or verified enough for internal escalation based on image-plus-context review. Avoid overstating certainty.
This is especially important for teams operating under compliance guardrails. A platform used for security and investigation support is not a consumer reporting agency, and the operational purpose matters. Your process should reflect lawful use, limited purpose, and human review before action.
When to stop
One of the hardest parts of verifying surveillance imagery is knowing when the image cannot carry the question you are asking. Sometimes the frame is too poor, the angle is too severe, or the context is too thin. Continuing to search can create confirmation bias, where every new result feels more persuasive simply because you have already invested time.
Stopping is not failure. It is a valid outcome. If the evidence is weak, mark it as weak and shift to better sources – additional footage, witness follow-up, access records, patrol observations, or a new frame from the same event. Verification is strongest when it respects the limits of the image.
The teams that do this well are not the ones who force certainty from bad footage. They are the ones who can move quickly, preserve discipline, and explain exactly why a photo did or did not justify the next step. That is what turns a surveillance image into something operationally useful rather than merely suggestive.
The best habit you can build is simple: every time a frame feels urgent, slow down just enough to make the record defensible.